More and more households in Bosnia and Herzegovina are considering solar panels on their roof. The reason is simple: electricity you generate and use yourself is electricity you don’t have to buy. But just as with businesses, a home system pays off if it is well sized, properly installed and correctly connected. This guide covers what a homeowner should know before asking for a first quote.
Step 1: Start with your consumption
The best starting point is not your roof area but your annual electricity consumption. Take your bills for the last 12 months and add up the kWh (if you have a two-rate meter, add the high and low tariffs together).
Then divide that figure by the expected annual yield per kWp. Publicly available solar potential databases show that well-oriented systems in BiH produce in the region of 1,200–1,500 kWh per kWp per year, with more sun in the south than in the north of the country. The actual figure for your roof depends on orientation, pitch and shading.
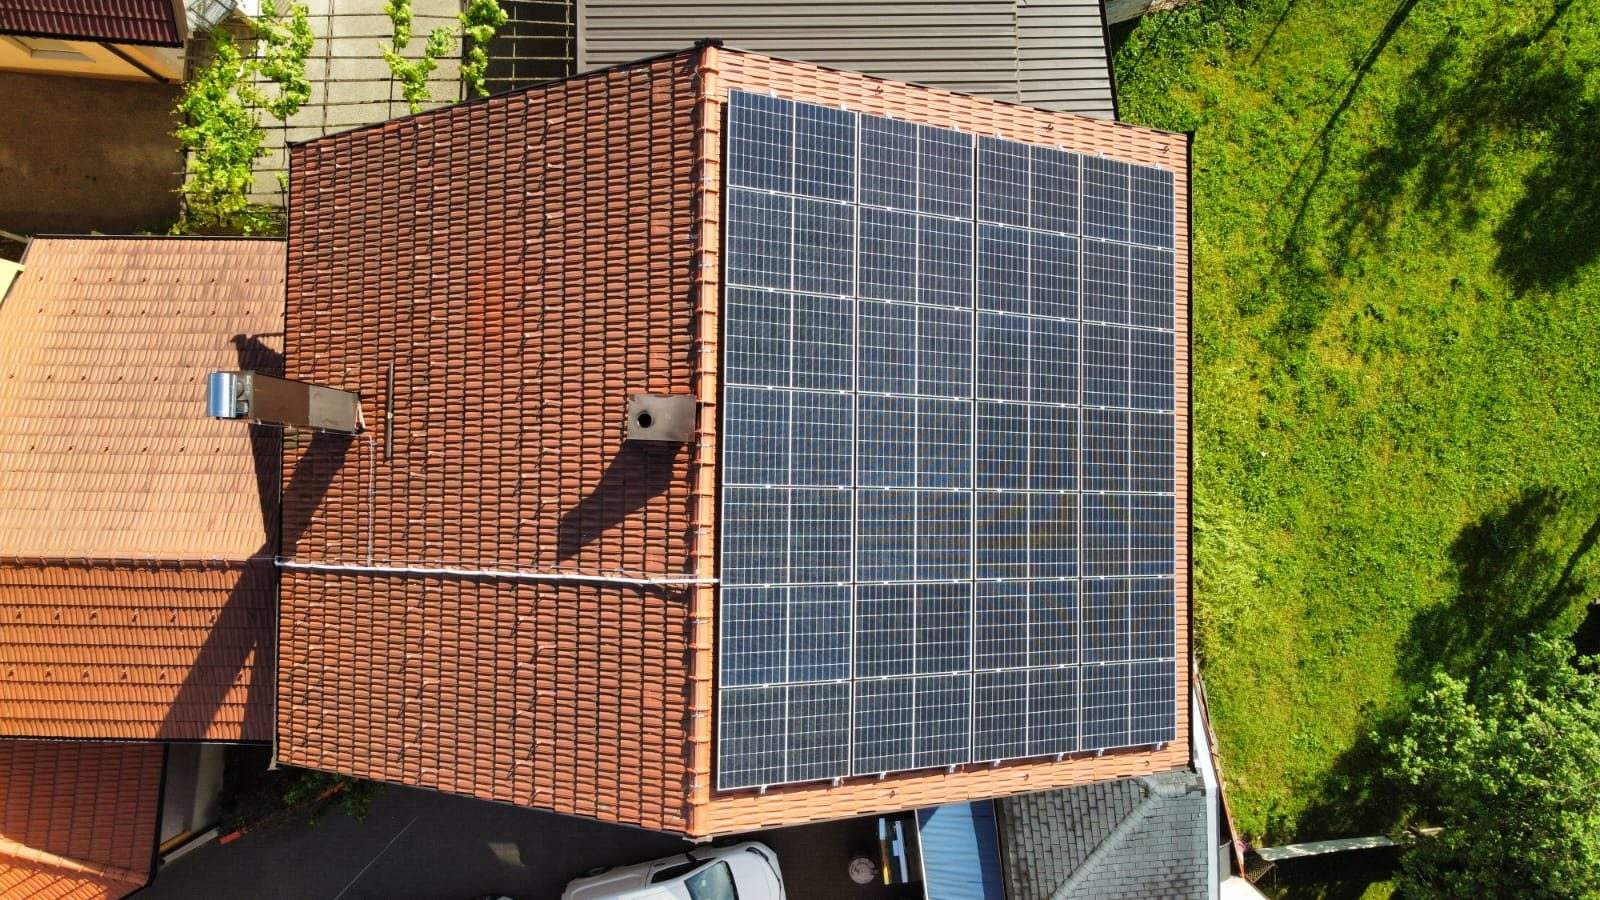
Illustration (assumed values, not a quote): a household using 6,000 kWh a year, on a roof expected to yield around 1,300 kWh/kWp, would need a system of roughly 4.5–5 kWp. With today’s panels of several hundred watts each, that is around a dozen panels and about 25 m² of roof.
Why not “as much as the roof will take”? Because surplus fed into the grid is settled under the prosumer rules, and unused surplus is generally lost at the end of the settlement period (more below). A system larger than your consumption usually means money spent on energy you never use.
If you are planning changes to your consumption — a heat pump, an electric car or air conditioning — tell the installer at the outset. It is better to size the system for future demand now than to extend it later.
Step 2: Roof and orientation
| Roof type | How it is mounted | What to watch for |
|---|
| Tiles | Hooks fixed to the rafters under the tiles, with aluminium rails on top | Condition of tiles and battens; tiles at hook points must stay watertight |
| Metal sheet (trapezoidal, standing seam) | Short rails or clamps directly on the sheet, with sealed fixings | Sheet thickness and condition; standing-seam roofs use clamps with no drilling |
| Flat roof | Tilted mounting frames, ballasted or anchored | Load capacity of the slab and condition of the waterproofing; row spacing to avoid shading |
Orientation. South gives the most generation per kWp. East-west gives slightly less per panel but spreads generation across the day — morning and afternoon, when households often use more. North-facing roof slopes are generally avoided.
Shading. A chimney, satellite dish, neighbouring house or tree can noticeably reduce output, especially in winter when the sun is low. A serious installer checks this on site.
Roof condition. Panels stay on the roof for 25 years or more. If the roof will need repairs soon, do them before installation — removing and refitting the system is an extra cost.
Step 3: Where the inverter goes
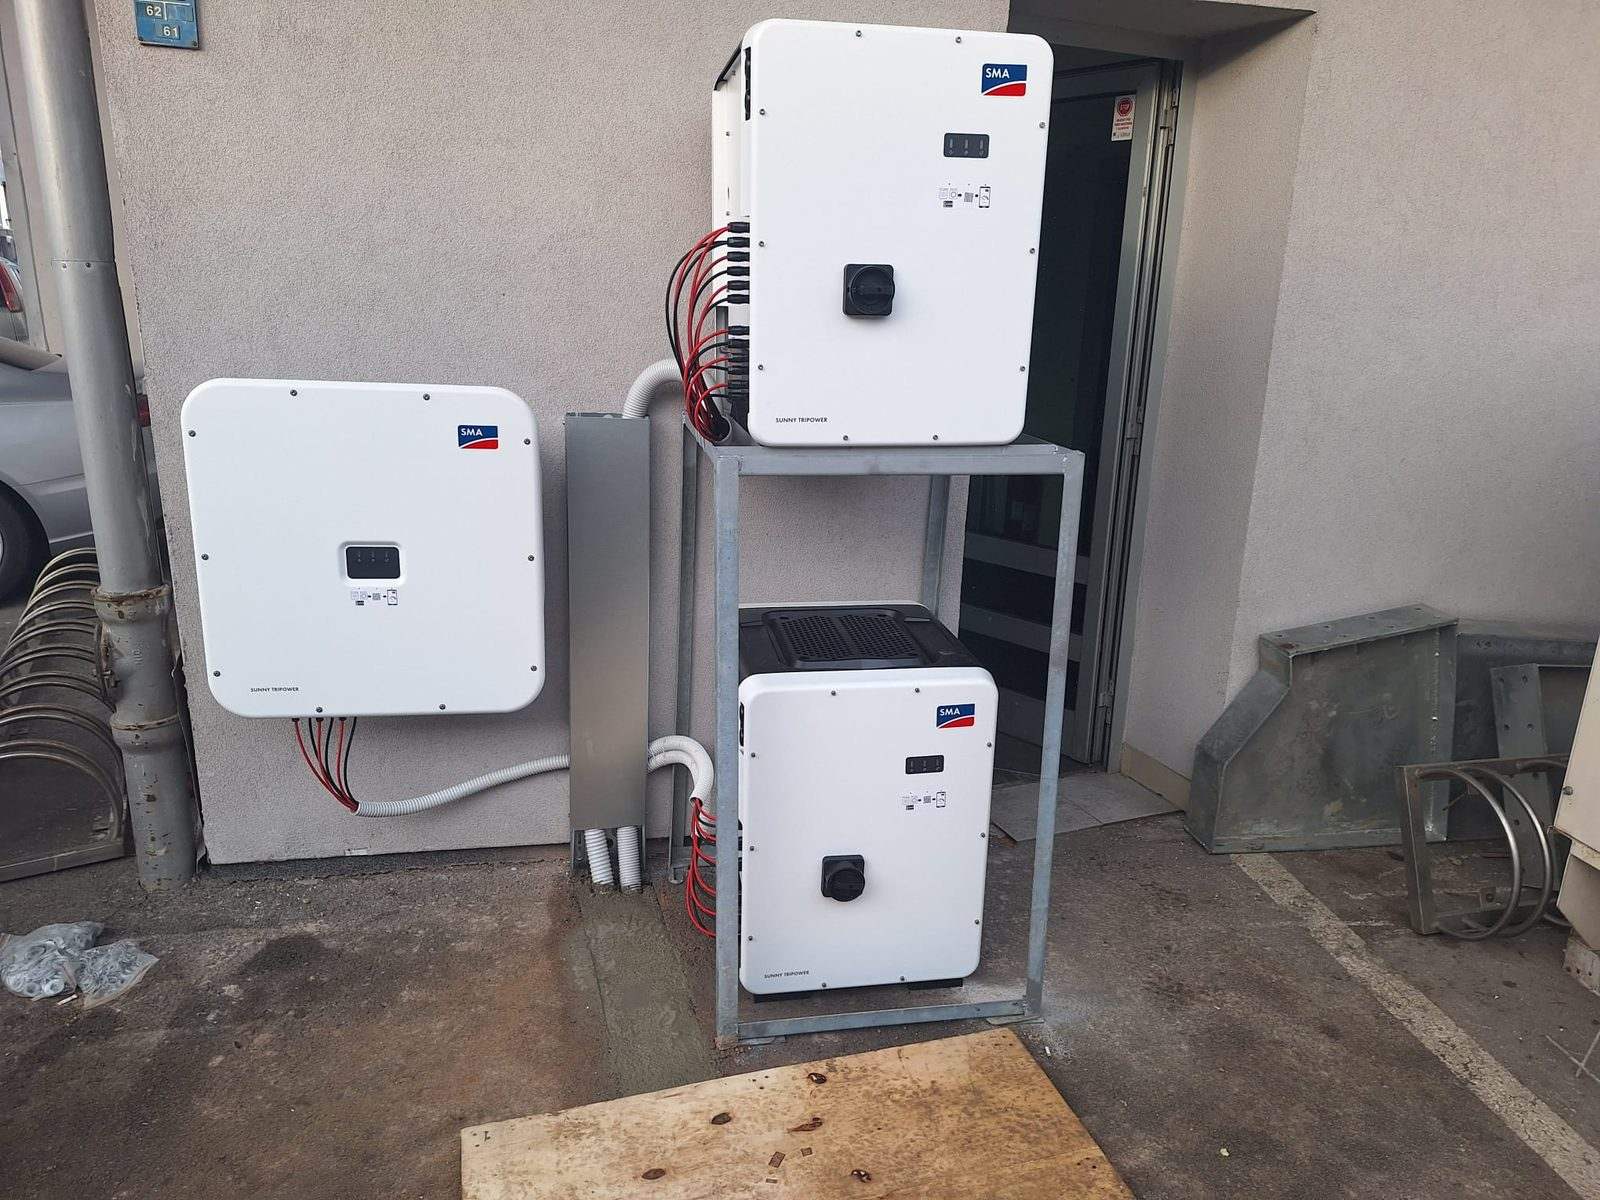
The inverter converts direct current from the panels into alternating current for the house. In homes it is most often mounted:
- on the facade, on a side not exposed to direct midday sun,
- in the garage, basement or a utility room, if the space is dry and ventilated.
It should be as close as possible to the main distribution board, have enough space for cooling and be accessible for servicing. Whether the inverter is single-phase or three-phase depends on the house’s grid connection and the distribution system operator’s conditions.
Step 4: From site visit to commissioning
A typical home project runs like this:
- Bills and basic information — 12 months of consumption, address, photos of the roof and distribution board.
- Site visit — measuring the roof, checking the structure, shading, cable routes and the inverter location.
- Design proposal and quote — system size, panel layout, equipment and estimated generation.
- Documentation and application to the operator — the application for grid connection approval is submitted to the distribution system operator before construction.
- Installation — for a typical house this usually takes a few days, depending on the roof and the weather.
- Inspection and paperwork — proof that the installation is sound, a supply contract with your supplier and other documents required by regulations and local rules.
- Connection and commissioning — the operator connects the system and fits the appropriate meter; you get access to production monitoring.
Most of the time usually goes into approvals and documentation rather than installation. Timelines depend on the operator, the canton or the municipality.
Step 5: Prosumer status in brief
A house with a solar system connected to its internal installation can obtain prosumer status (kupac-proizvođač). In practice this means you use the electricity you generate straight away, feed surplus into the grid, and that surplus is offset against the energy you later draw from the grid.
A few general points are worth knowing:
- the rules differ between the Federation of BiH and Republika Srpska,
- system capacity must not exceed the building’s approved connection capacity,
- how surplus is settled depends on the entity and your connection capacity,
- unused surplus is generally lost at the end of the settlement period.
For the details — settlement schemes, limits and the procedure — read our article on prosumers in the Federation of BiH and Republika Srpska. Regulations change, so check current conditions with your operator and supplier before investing.
Step 6: What drives the price
A meaningful price for a home system can’t be given without seeing the property. The main factors are:
- system size — smaller systems cost more per kWp, because some costs (documentation, inverter, electrical work) don’t scale with capacity,
- roof type — tiles, metal sheet and flat roofs each need different mounting,
- equipment — panels and inverters from different manufacturers differ in efficiency, warranties and reliability,
- electrical work — condition of the distribution board, cable length, protection,
- extras — a battery, smart load control or an EV charger,
- documentation and approvals.
When comparing quotes, look at exactly what is included, not just the final figure.
Step 7: How to increase self-consumption
The more of your generation you use at the moment it is produced, the bigger the saving. Households have more options here than they often think:
- A heat pump for heating, cooling or hot water can shift a large share of consumption into sunny hours, especially in spring, autumn and summer.
- An electric car charged at home during the day is an excellent “surplus sink”. Smart chargers can be set to charge when the system is generating.
- Air conditioning uses the most power exactly when the system produces the most — midday in summer.
- The water heater, washing machine and dishwasher can be run on timers during the day.
A battery can raise self-consumption further, but it is an additional investment whose payback depends on the surplus settlement rules and your habits. It is worth considering, but not always necessary.
Step 8: What to ask an installer
Before signing a contract, ask for clear answers to these questions:
- What is the proposed system size based on, and what is the expected annual generation?
- Which panels, inverter and mounting system are specified (manufacturer and model)?
- How will the system be fixed to my roof, and how will it stay watertight?
- Who prepares the documentation and handles the procedure with the operator?
- What is included in the price, and what isn’t?
- How does monitoring work, and who responds if something stops working?
You’ll find a fuller list in our resource Questions to ask a solar installer, and before the site visit you can also go through our pre-installation checklist.
Step 9: Warranties and maintenance
A solar system usually comes with three separate warranties:
- panels — a product warranty and a performance warranty (what percentage of rated power the panel retains over the years),
- inverter — usually shorter than the panel warranty, with some manufacturers offering an extension,
- workmanship — the installer’s warranty on installation and wiring.
Durations depend on the manufacturer and model, so make sure each warranty is stated in the quote and the contract. Bear in mind that the inverter usually has a shorter life than the panels, so it is sensible to budget for replacing it during the system’s lifetime.
Maintenance is minimal: check the monitoring now and then, and clean the panels when soiling visibly reduces output. On pitched roofs, rain washes off most of the dust on its own.
Conclusion
A good home solar system starts with your electricity bill, not a panel catalogue. Since 2011 we have completed 71 projects totalling around 30,000 kWp — from industrial buildings to family homes — and each one started with the same question: how much do you use, and when?
For an estimate for your house, send us the last 12 months of bills via the quote form or get in touch. You can read more about what we do on our solar plants page.
Sources